Home / Mildew and Salt Film Removal
Mildew and Salt Film Removal
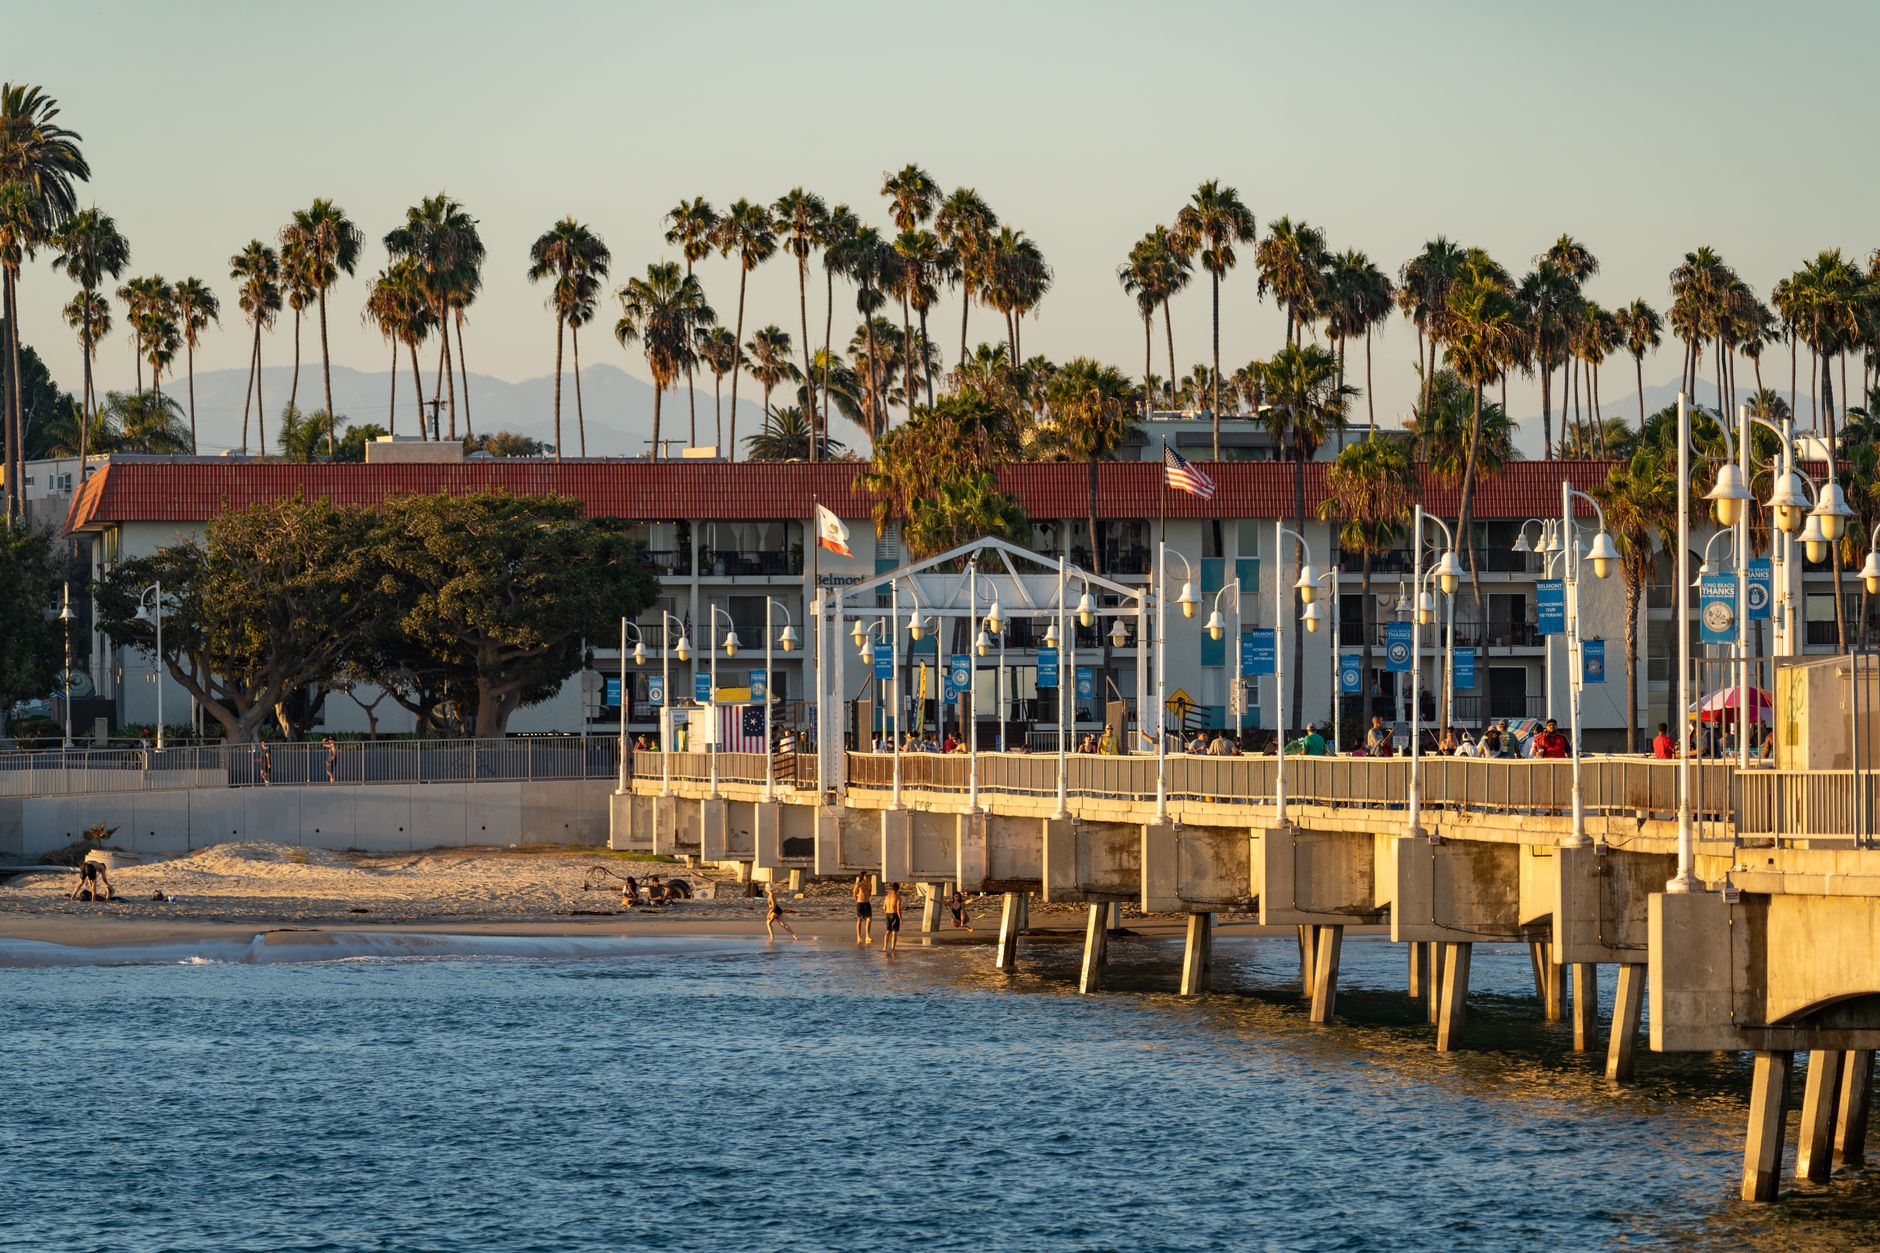
Two uninvited coatings settle on exterior walls near the water. One is alive: mildew and algae, spreading as dark or green speckles across damp, shaded siding. The other is mineral: a thin, nearly invisible film of salt left behind when spray and humid air evaporate. Neither looks like much, but both prevent new paint from bonding, and both come back quickly if they are painted over rather than removed.
Telling mildew from dirt
Mildew usually appears as black, gray or brown spots, sometimes in a branching pattern, on north-facing walls, under eaves, behind shrubs and wherever air barely moves. Algae is greener and slimier, often forming streaks beneath gutters or on lower walls. Plain dirt looks uniform and rinses off with water. A simple test uses a drop of household bleach on the spot: mildew lightens in a minute or two, while dirt does not change.
These organisms feed on the paint itself, particularly on the oils and organic additives in the film, and on dust that collects on it. They thrive on damp surfaces, so a wall that dries slowly invites them. Some paints include mildewcides that slow growth, but over years the additives wear off.
Why paint fails over mildew
Painting over mildew without killing it is like laying a carpet over a damp floor. The organisms survive beneath the new film, spread, and show through within a year or less as new dark blotches. They also weaken adhesion, because the film is bonding to a layer of living and dead growth, not to the wall.
Removing mildew and algae
- Wet nearby plants and cover delicate ones.
- Mix a cleaning solution suited to the job, either a diluted bleach-based mildew wash or an oxygen-based cleaner, following the label directions exactly.
- Apply it from the bottom of the wall to the top, so streaks do not form on dirty surface, then work upward.
- Let it sit for the stated contact time while keeping the surface wet, usually ten to fifteen minutes.
- Scrub stubborn areas with a soft-bristle brush.
- Rinse from the top down with plenty of clean water.
- Repeat on spots that still show, then let the wall dry completely.
Never mix bleach with ammonia or acid-based cleaners, which can release dangerous gases. Wear eye protection and gloves, and work with the wind at your back.
Salt film: the invisible problem
Where the breeze carries ocean spray, a mineral film accumulates on walls, railings, window glass and every ledge. It is thin and often invisible when dry, though a faint haze on glass or a gritty feel on a rail gives it away. Salt attracts moisture from humid air, so surfaces carrying it stay slightly damp, which feeds corrosion on metal and helps mildew take hold.
For paint, salt is a bonding barrier. A coating applied over it adheres to the crystals, not to the wall, and moisture drawn through the film later pushes the paint off in tiny blisters, particularly on the sides of the house facing the wind.
Dissolving salt
Salt dissolves in water, so the removal method is simple, but it must be thorough. A thorough rinse with fresh water, ideally with a low-pressure sprayer or a hose, carries it away. A mild detergent helps release the oily grime that often binds salt to the surface. Scrubbing with a soft brush loosens deposits in textured surfaces such as stucco. The last rinse should run clear, and the water should carry no soapy residue. Rinsing twice is cheap insurance in exposed locations.
A simple check is to wipe a clean damp cloth across a washed section and see if it feels gritty. For a more careful test, some professionals use conductivity tests on rinse water, though for houses a clean cloth and a thorough second rinse are normally enough.
Metal needs extra attention
Salt accelerates rust, so metal railings, gutters, hardware and fasteners need cleaning and inspection. Remove loose rust with a wire brush or sandpaper, wipe the metal down with a clean damp cloth, let it dry, and apply a rust-inhibiting primer promptly, before fresh surface rust forms. Painting over rust spots without treatment causes brown bleed-through within weeks.
Drying and timing
After washing, wait. Painted walls need at least a full day of dry weather, and wood and stucco often need longer. Painting on a damp wall traps both moisture and any residue still in the surface. In humid or foggy conditions, early morning is the worst time to start work, since surfaces carry dew. Waiting until the wall warms and dries, then painting before the evening damp returns, gives the film the best chance.
Keeping the problem from returning
- Trim back shrubs and trees so walls get light and air.
- Fix leaking gutters and sprinklers that wet the siding.
- Rinse exposed walls with a hose a few times a year to carry off the salt before it builds up.
- Choose a paint with mildew-resistant additives and a satin sheen that sheds dirt.
- Re-caulk gaps that allow moisture to sit.
Cleaning is dull work, but cleaning properly is the most reliable way to make a coating last. A wall free of living growth and mineral film gives the primer something solid to grip, and the paint over it can finally do its job.
Checking the result before priming
Once the wall is clean and dry, test it. A strip of clear tape pressed on and peeled should come away nearly clear, with no powder or green smear. A damp white cloth wiped over a patch should stay white. A shine of fresh water should bead and run off in a way consistent with the old paint, and not sheet strangely over a greasy spot. If any test fails, wash that area again rather than hoping primer will cover it.
Areas around rain gutters, behind trees and beneath eaves deserve a second look, because they hold the most stubborn growth. Black stains may remain faintly even after killing the organism; a stain-blocking primer handles the leftover color so it does not ghost through the topcoat. Fresh primer on bare or cleaned wood closes the surface and gives the finish a uniform base.